
Zwolanek of www.songofmyheartstampers.com and I loved the simple "pop up" ;mechanism she created using glue dots and diecuts so I had to give it a whirl. Hopefully my IL stamp club friends also enjoyed it as this was a project they did for club yesterday.
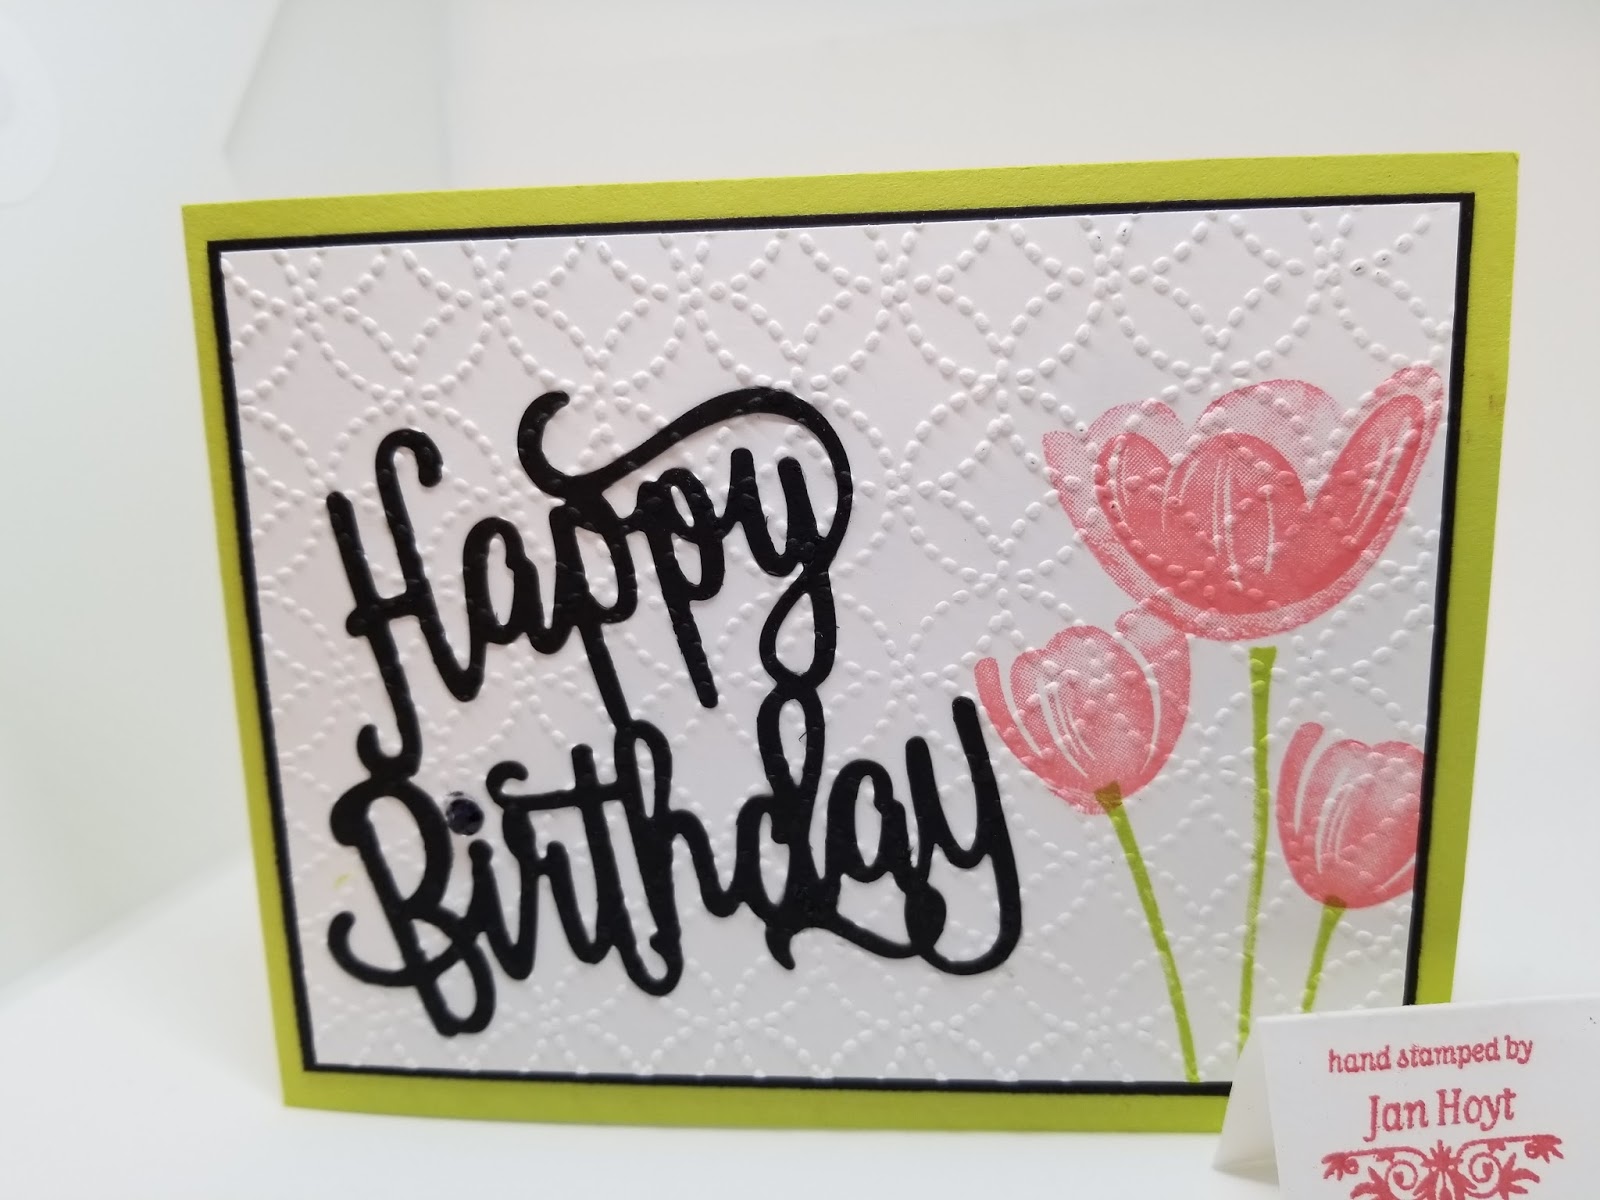
The first part is the front of the card...might as well start here! Use white matte or glossy cardstock and stamp the tulips in the corner....position the Happy bday diecut on the left side for placement but don't attach it yet Once you have the flowers stamped (give them a minute or too to dry completely if using glossy since the glossy cardstock takes a little bit longer) you can adhere the diecut words then run the white panel through the quilt embossing folder, When the white stamped panel is finished adhere it to the black panel and then to the Lemon Lime Twist panel and voila! the front of the card is done.
For the inside pop up portion.....stamp and diecut 3 of the large butterflies from Watercolor Wings. I used lemon lime twist, turquoise and soft sky for two of the butterflies and added a darker accent to the third (center butterfly) for some contrast.
Diecut the three stamped butterflies then fold each butterfly in half and use glue dots to attach them wingtip to wingtip so they will stretch out accordion style when the card opens and scrunch back together when the card closes.
See photos below for the visual. the plain white butterflies show how to attach the three with glue dots, the other shows the finished butterflies in place. As you can see from the picture looking down on the opened card the right and left butterfly are attached about halfway between the middle of the card and the scored middle crease of the card which allows them to "float" open and closed easily.


here's how it looks once the butterflies are stamped and attached.

hope you have enjoyed this quick card share....if you are interested in a printed "recipe"
here is a link to my card recipe on the TheseAreMyStamps website
I am more than a little rusty on the blogging but decided that if I'm going to share ideas I should put this project on my blog and maybe it will help you out a little bit if you need a really fun and cute but not difficult birthday card,


